
Earlier this year, I shared about treating myself to some pampering at Paintbox — the super-chic nail salon in Soho, which sets the trend on cool nail designs. Now, in that same post (which you can read here), I also explained how while I love getting my nails done, limited time and the way my bank account is set up lead me to usually do my nails at home instead of at the salon. At 10 o’clock at night. With the hopes that I won’t wake up with little lines all over my nails from the bed sheets.
 But listen — I love those designs at Paintbox, and I’m particularly fond of the whole “negative space” trend when it comes to nail design. And while many of those designs are waaaay out of my league, I thought maybe if I tried, I could recreate a version of those designs on my own.
And so one night at 10 o’clock, standing in the bathroom so I wouldn’t wake up Jordan, I grabbed some painter’s tape and a pair of scissors and went to work, with very low expectations. Like I was literally saying to myself, “this is why you’re so tired, Jessica — because instead of sleeping, you waste time on silly projects that won’t work.”
And well, surprisingly, it actually turned out great. When I saw friends the next day, they noticed my nails and asked, “Oh, did you go back to Paintbox?” And let me tell you, I was pumped! It’s like the person who typically wears designer clothes, but then one day wears a top from Target, and everyone just assumes it’s designer.
So here we come to the part where I share this little DIY tutorial with you — in case you’re into doing something a little different with your nails, or you can’t make it to Paintbox in the near future.
DIY Negative Space Nails
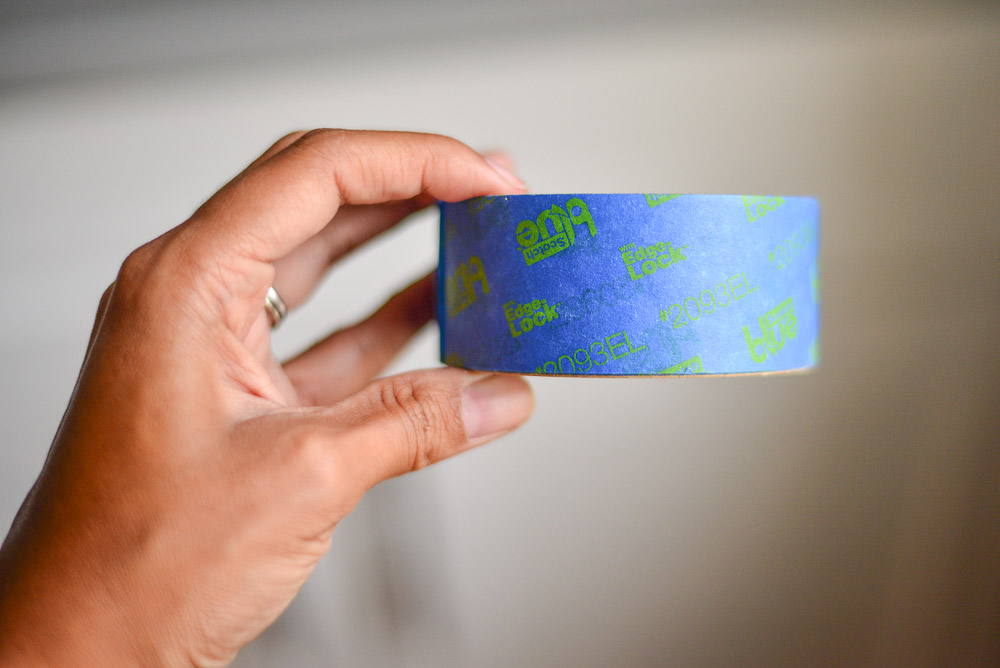
First, you need some tape. I went with blue painter’s tape, because that’s what I had on hand. It’s quite possible this could work with other kinds of tape too.
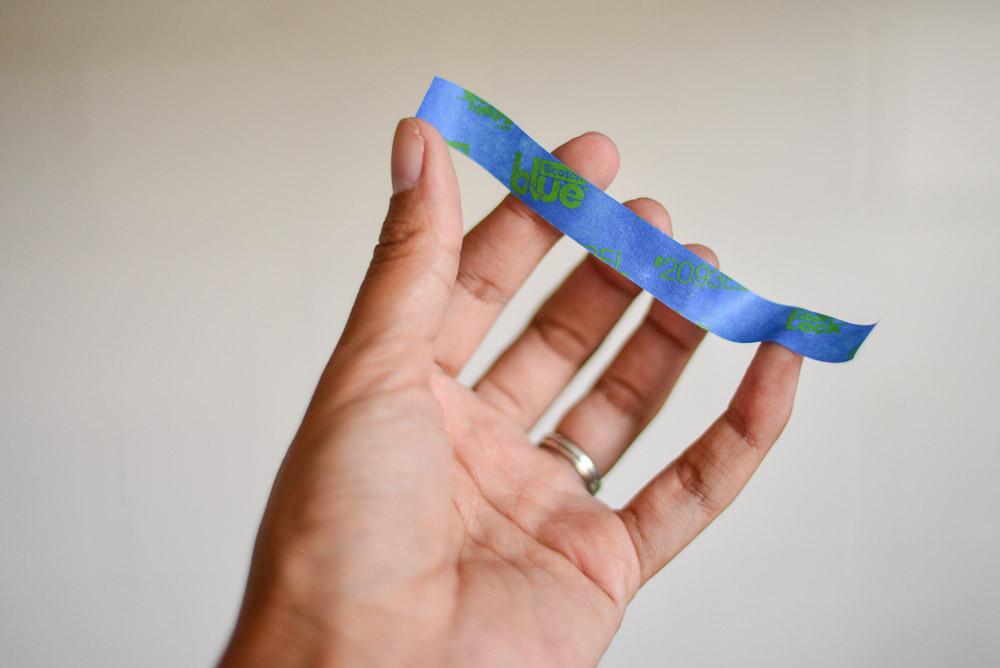
 From there, I cut a thinner strip of tape, so that cutting my triangles would be easier to keep even/the same size.
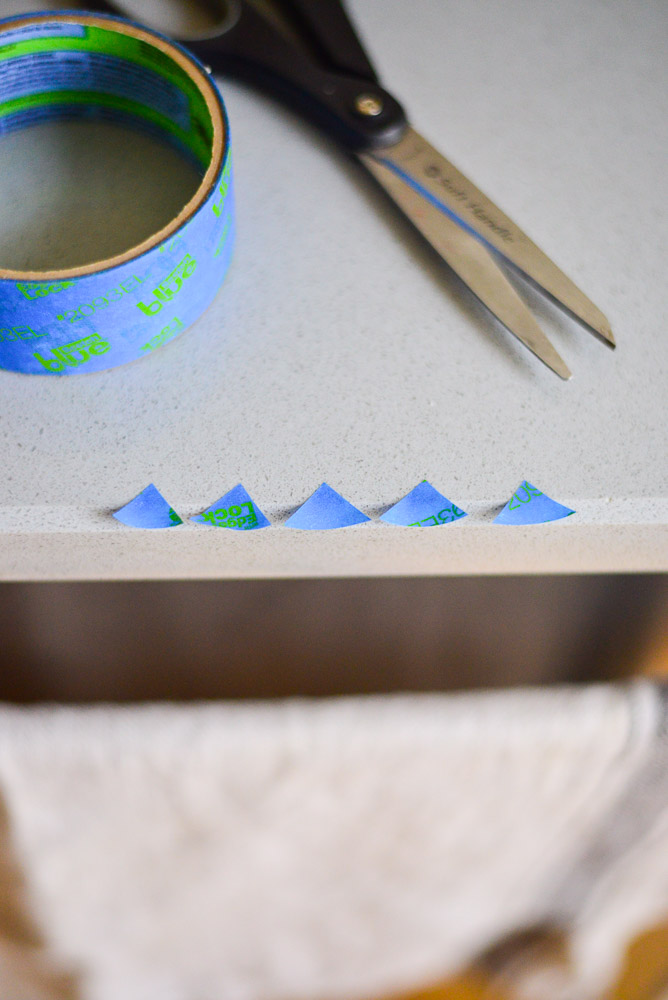
 Then, you need to cut 10 triangles, being mindful that you want the angles to be the same. Here are a few of my cut triangles, lined up and ready to go.
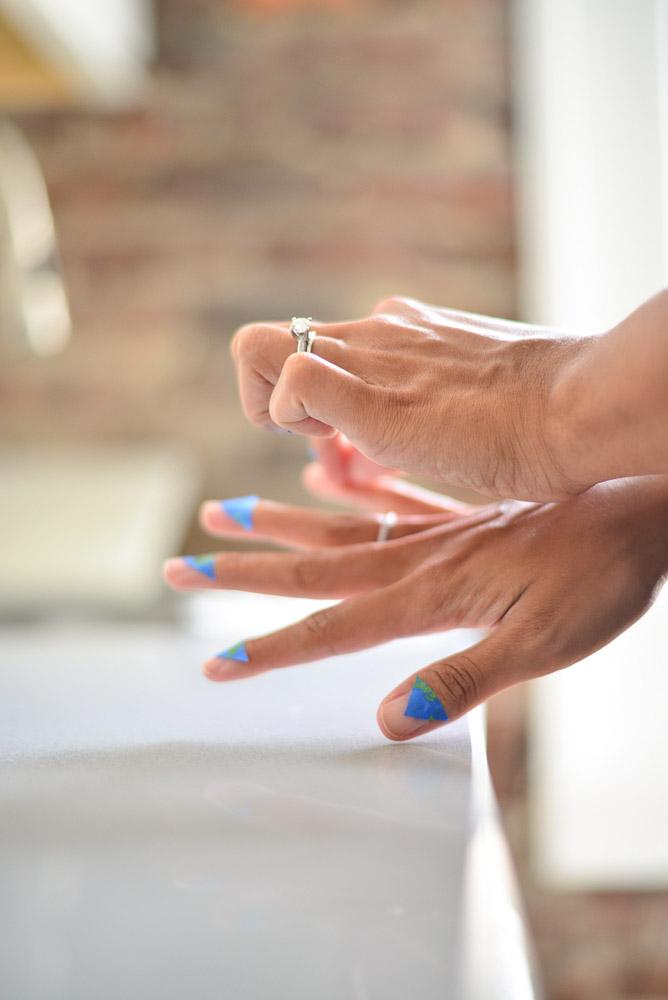
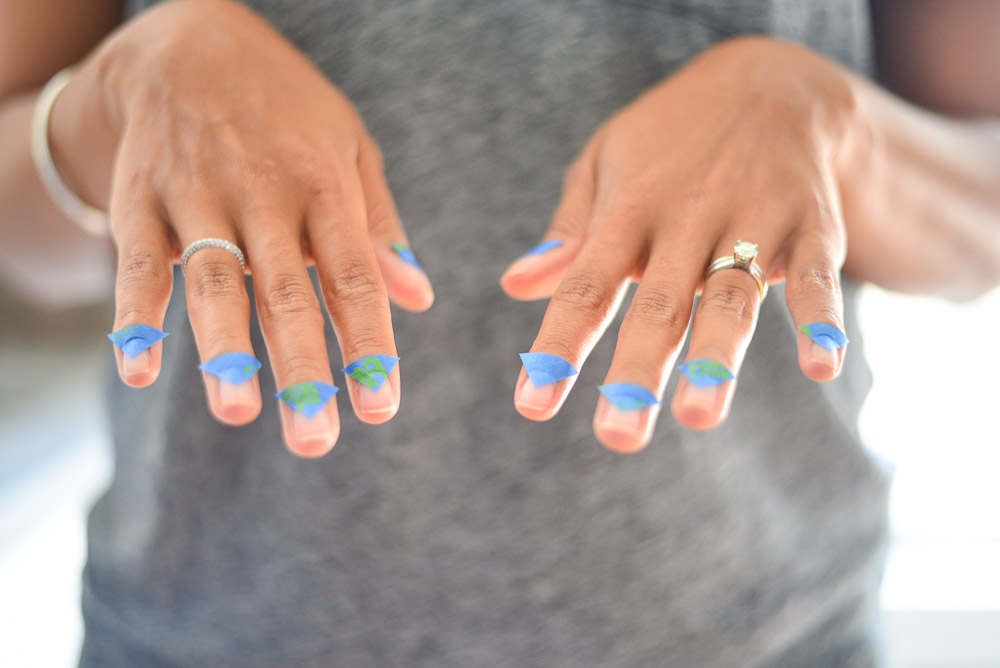
Next, you want to apply the triangles to your nails. I positioned the “point” of each triangle at the center of my nail, but the main thing is to make sure you place the triangles at the same spot on each nail. Readjust the tape, and press it firmly into the nail bed once you’re happy with the positioning.
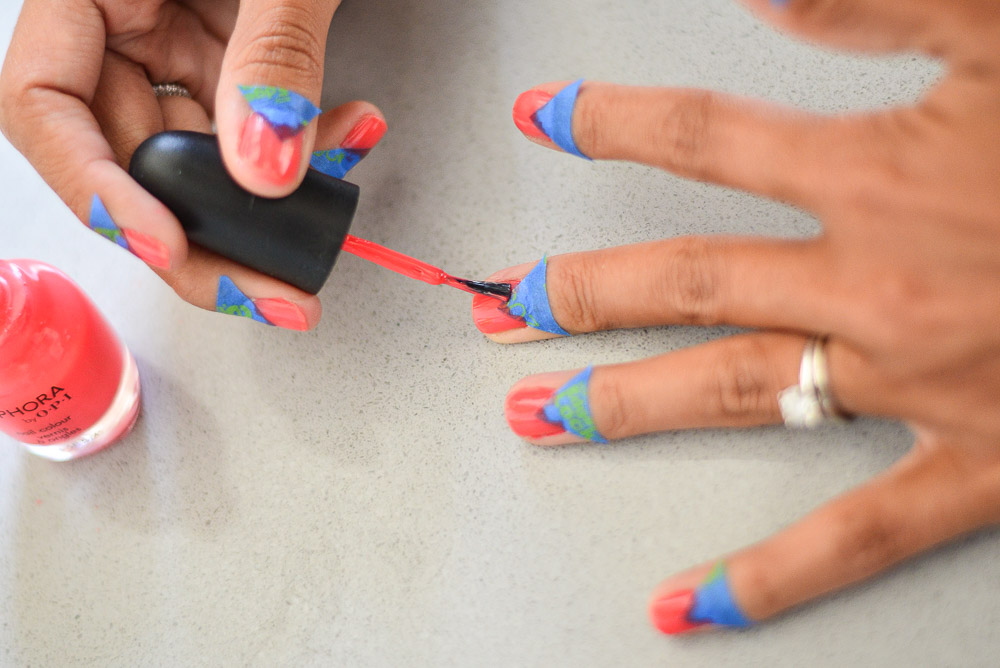
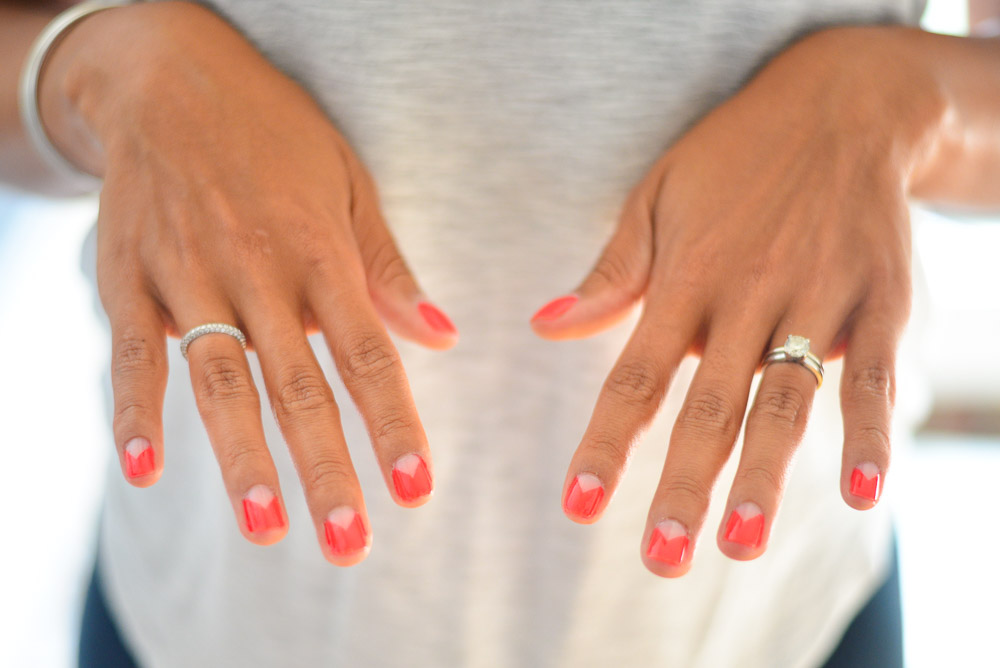
 And then you grab your polish. I suggest a bright color that will contrast with your naked nail, as opposed to a neutral, but of course, it’s your choice. I also suggest a polish that doesn’t require several coats but paints evenly with a couple light strokes. I used a bright orange — ‘Special Request’ from Sephora by OPI.
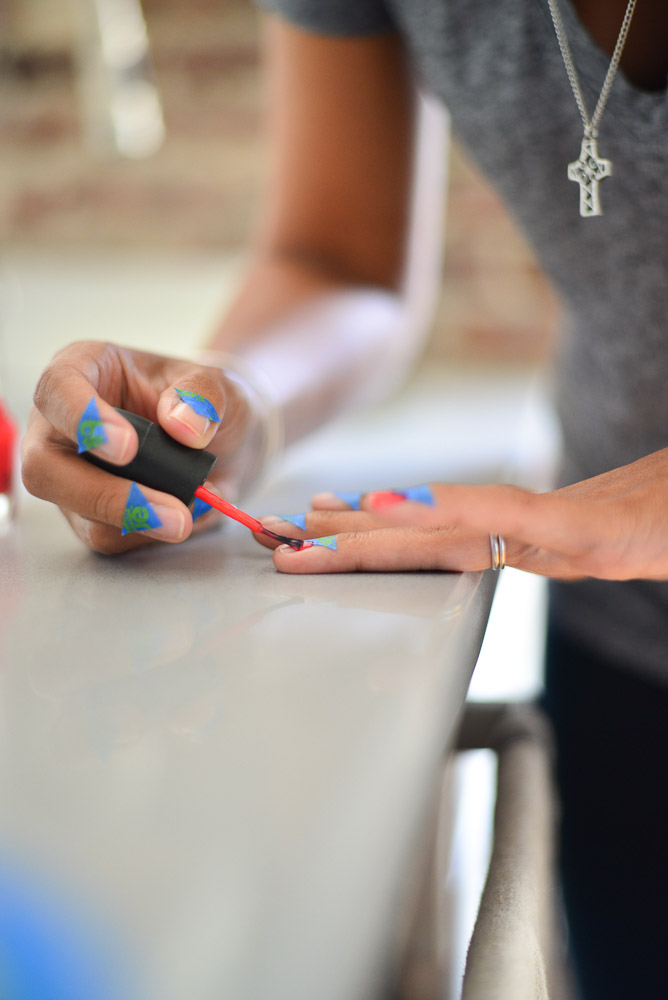

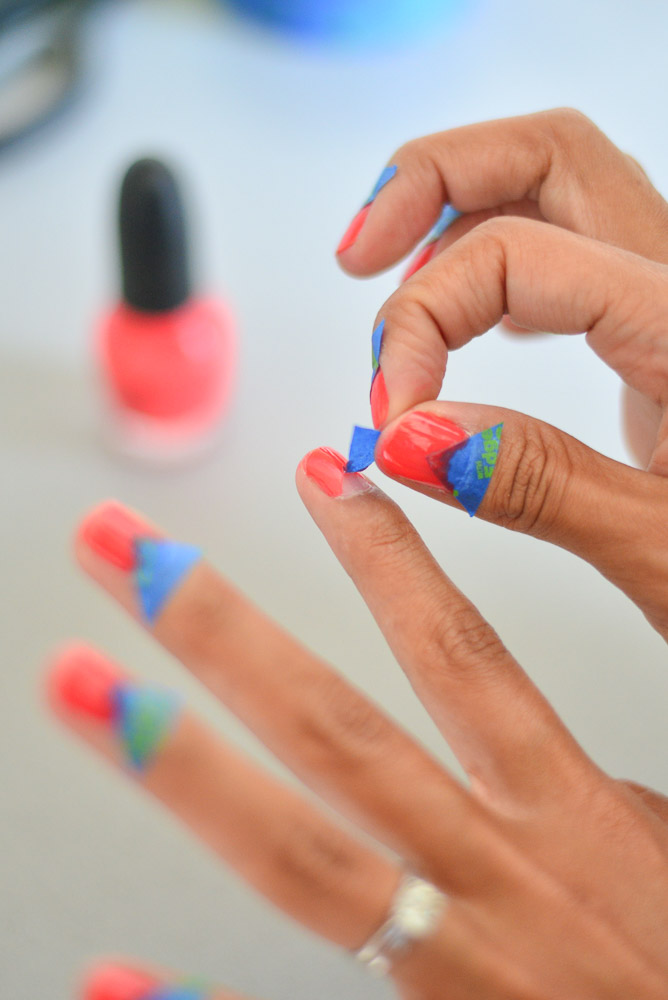
 After you apply your standard two coats, wait for it to dry thoroughly. And then gingerly peel off the tape.
 Finish off the nails with a top coat, and you’re all set! I’ve been fond of this one
 ever since a manicurist suggested it to me.
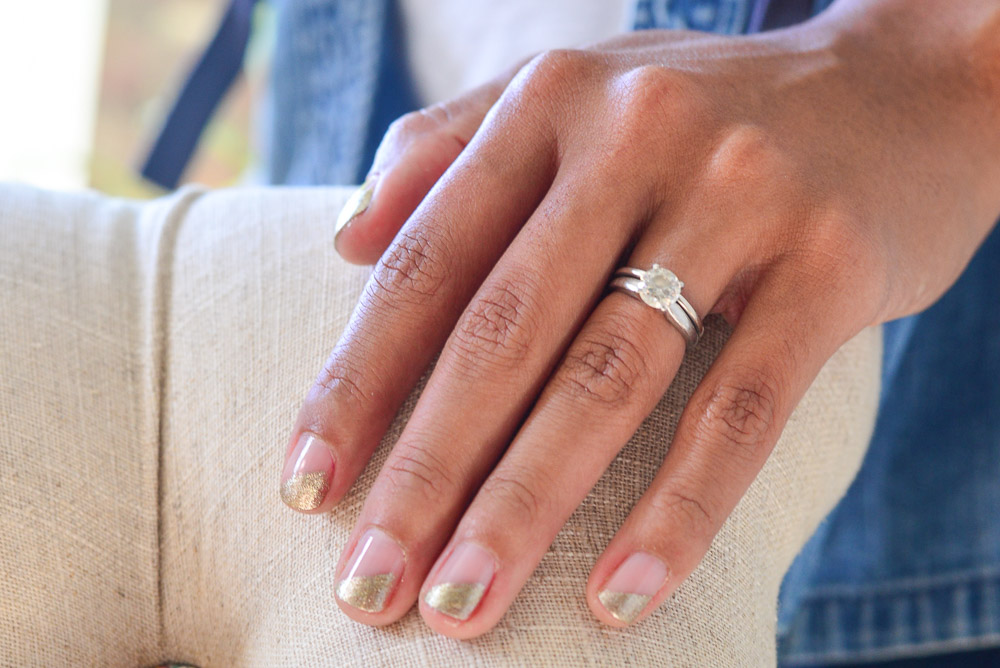
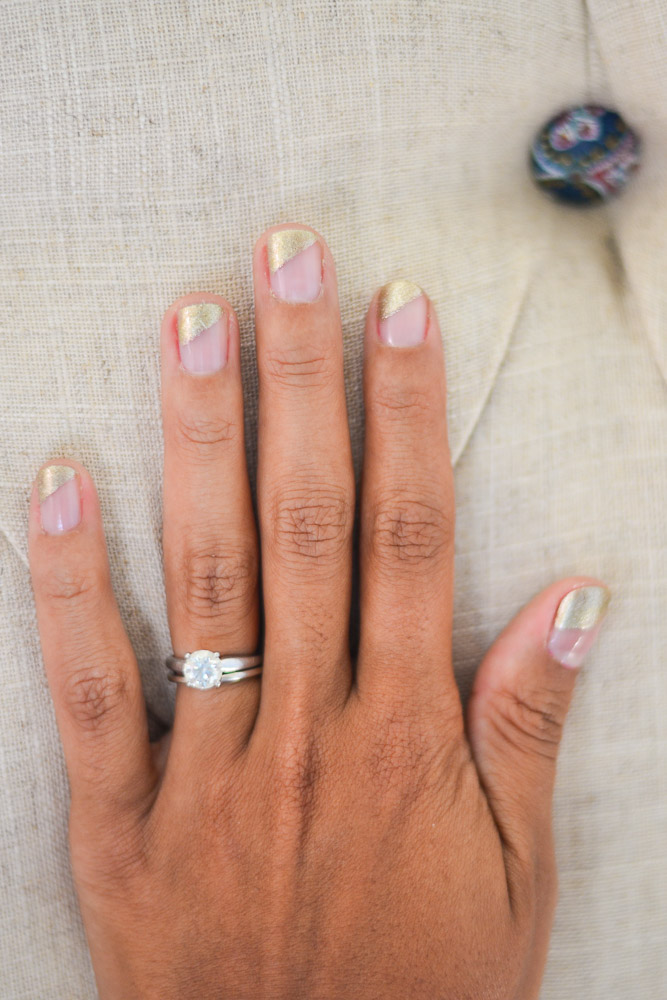
 You can be as creative with your tape as you want. I recreated another design, reminiscent of this Fall ’16 Paintbox design, which was even easier than cutting the triangles — you just need diagonal strips with the same angle.

 Happy nail painting! If you try one of these designs out, I’d love to know how it goes.

6 Comments
chelsea jacobs
September 28, 2016 at 11:39 amI love how these turned out!! So pretty!
Jessica Rice
October 4, 2016 at 10:41 pmThanks!!
Ma Rice
September 28, 2016 at 1:17 pmI can’t wait to try this – but I might need your help! 😄
Jessica Rice
October 4, 2016 at 10:41 pmhaha, happy to help! :-)
Shaneil Deas
September 29, 2016 at 9:00 amI can imagine your excitement at following through with your attempt at recreating a style you love and being successful at it. Resourcefulness 101!
Jessica Rice
October 4, 2016 at 10:41 pmExactly! I was super proud, lol.